TOC
I’ll be honest, I’ve never really had the desire to create a blog before, but I thought I’d give this a go as I was looking through my back-catalog of code and solutions recently and thought; “You know what, I spent quite a lot of time on some of these, and I bet someone else could find them at least partially useful”. So that’s where we are, and what better place to start than explaining how I went about creating this site!
So first-off, I’m not a developer. I know bits of coding, mainly Powershell, Python, Yaml, JSON. But I’m useless really when it comes to websites. I can reverse-engineer code relatively well, but I didn’t want to spend the time copying someone else’s site and making it my own, that’s a recipe for many hours of work, and I knew there must be applications out there for this kind of thing, and my only real requirements were:
- I need to build the site using a Windows OS
- I don’t want to have to design the site from scratch
- I want it to be simple and hostable from an S3 bucket
So after a bit of searching, I stumbled across Jekyll and Hugo, both of which seemed to do just what I was after.
After initially selecting Jekyll and getting it up and running, I realised that although the base theme was ‘fine’, I wanted something more, and all the themes I found online that I really liked, required tons of effort and external services (e.g. Stackbit) to get implemented. I really didn’t want to spend this time getting a nice looking site, I wanted to spend time on the content! So i then decided to go with Hugo, primarily because I found a theme I liked in minutes and it took even less time to get it installed and running.
So with that said, this guide will focus on how I went about implementing this site using Hugo, however I’ll keep the original post I created on using Jekyll here for info.
Similar with Jekyll, I’m not going to go in depth about Hugo and it’s inner-workings as I’m definitely not qualified to do so. So this post instead aims to simply show what I did to get this site up and running, and in time I’ll update it to include the costs, as I’m hoping it’ll be very little!
The end result here aims to be:
- Easily updatable site (Hugo)
- Website code maintained in a Git Repo (AWS CodeCommit)
- Automatic deployment of updated site (AWS CodeBuild/CodeDeploy)
- Cheap hosting (S3/Cloudfront)
So onto it.
Pre-requisites
This guide assumes you already have the following:
- A Windows OS
- An AWS Account
- Visual Studio Code installed
- Git installed
1. Set User Permissions in AWS
The first thing we’ll do is setup AWS so we can store and serve our content.
-
Log in to AWS and select (or Create) your User. We’ll need to give this user access to AWS CodeCommit (which we’ll be using as our Repo where we’ll store our Site config) as well as access to S3 to create Buckets and manage objects within them. So head to the user permissions and attach the AWSCodeCommitFullAccess and AWSS3FullAccess Managed Policies.
IMPORTANT! - **You should always where possible restrict permissions down to only what is required, I’m using the FullAccess Policies in this guide for demonstration and simplicity purposes.
-
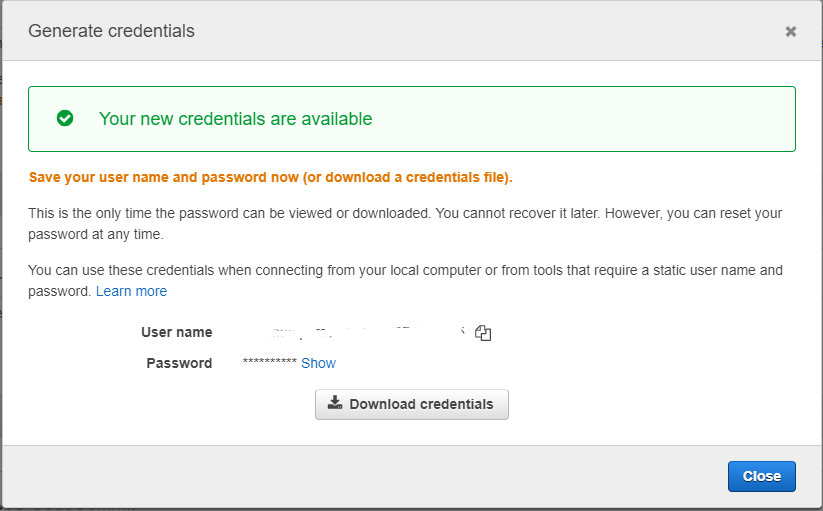
You’ll also need to generate some HTTPS Git Credentials so we can connect to our CodeCommit Repo later. To do this, head to the Security Credentials tab for your user, and under HTTPS Git Credentials for AWS CodeCommit, click Generate credentials and be sure to download them to a safe place.

2. Create your buckets
I created 2 buckets for this site (the names have been replaced with examples in the steps below)
- Create 2 Buckets as follows:
- site-bucket - This one is for the site itself (this will contain the contents of a directory named public that hugo will create for us)
- site-media-assets - This one is for media assets such as images/video/audio
-
Both of these buckets should both be Public. To do this, once the bucket has been created, select it and head to the Permissions tab, and ensure that all the “Block Public Access” options are unchecked as follows:

Then in the Bucket Policy just below, enter the following policy, ensuring you change the bucket_name to your actual bucket name:
{
    "Version": "2012-10-17",
    "Statement": [
        {
            "Sid": "Public-Access",
            "Effect": "Allow",
            "Principal": {
                "AWS": "*"
            },
            "Action": "s3:GetObject",
            "Resource": "arn:aws:s3:::bucket_name/*"
        }
    ]
}
Perform the above steps for both the site-bucket and site-media-assets buckets.
-
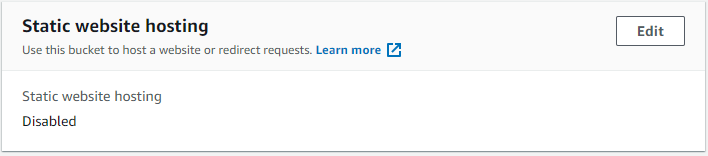
You’ll also need to set the “Static Hosting Website” config of your site-bucket. Simply select your site-bucket, select the Properties tab, then scroll all the way down to Static website hosting, and click Edit
-
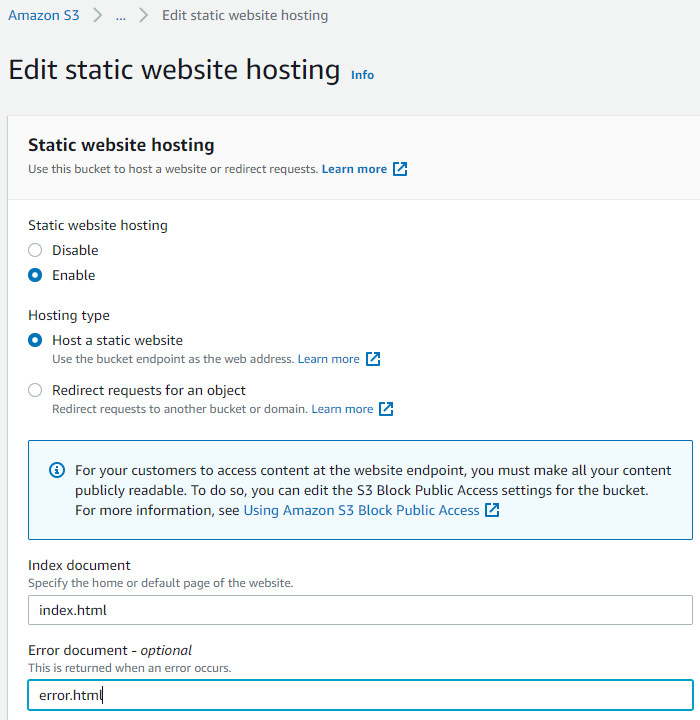
Enable Static website hosting, selecting the Host a static website option, and set the index and error documents as follows, then click Save changes
3. Create and clone the AWS CodeCommit Repo
Now we have our user and our buckets, it’s time to create our Repo and get it cloned to our local machine
-
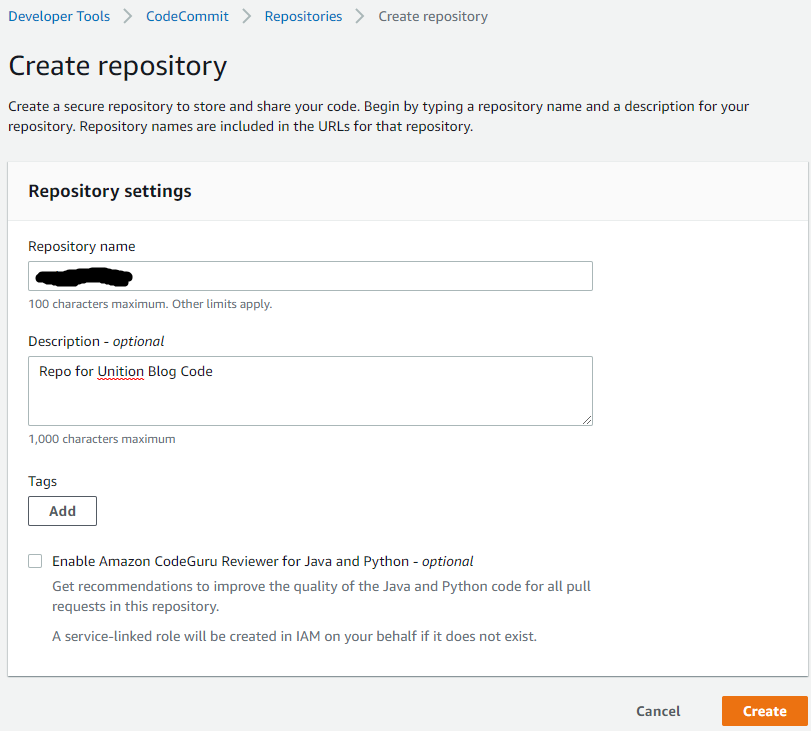
Head over to the AWS CodeCommit Console, and Create a New Repository:
-
Once the new Repo is created, select it and click Clone URL > Clone HTTPS:

This will copy the git URL for you to use in Visual Studio Code.
-
Open VSCode, ensure you have the Explorer open, and select Clone Repository and paste your CodeCommit URL from the previous step:
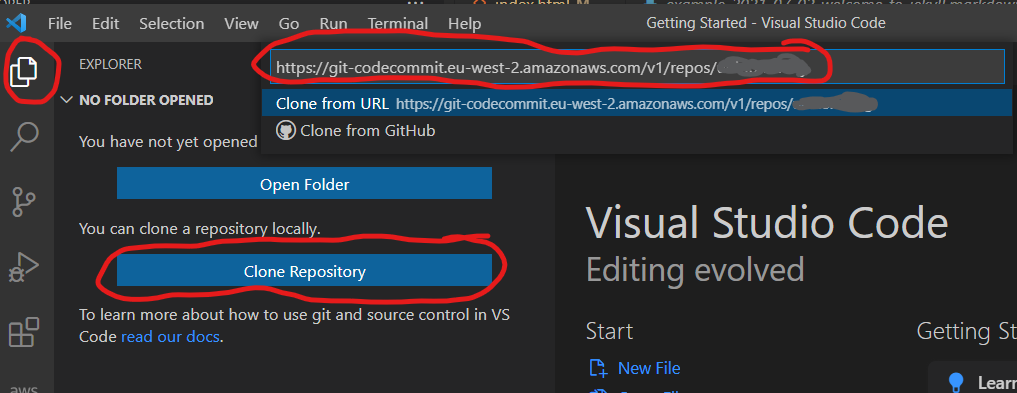
-
When asked for Credentials, enter the creds you downloaded from Step 1, and select a suitable location on your local machine to save to (e.g.
C:\websites\my-site).
And now we have our version controlled repository setup!
4. Setting up Hugo
Installing Hugo
The first thing you’ll want to do is download the latest Hugo zip from their github page here (it’s the **hugo_extended_…** one, which is hugo_extended_0.85.0_Windows-64bit.zip at the time of writing). You’ll want to extract the contents of the zip to a suitable location, e.g. C:\hugo.
Adding hugo to the Windows %PATH% variable
As hugo is simply a .exe file with no installation wrapper, if you try and run the usual hugo commands in cmd from outside of the c:\hugo directory, you’ll get the usual 'hugo' is not recognized as an internal or external command error. To fix this, we need to add the C:\hugo path to our Windows Environment Variables. To so:
- Right click on the This PC icon.
- Click on Advanced System Settings`** on the left.
- Click on the Environment Variables… button on the bottom.
- In the System variables section, find the Path item and double-click
- Click the New button.
- Type C:\Hugo and click OK.
- Click OK at every window to exit.
Open a new Command Prompt window and type hugo --help to make sure the new environment variable works.
5. Creating your site
Create a default site
With Hugo now installed and working, we can create our site.
-
In cmd, change directory to the parent folder of you newly-cloned repo (e.g.
c:\websites\) -
Run the following command to generate a new site, replacing
<my_site>with the name of your cloned repohugo new site <my_site>You’re previously-empty repo folder on your local machine should now contain directories and files that hugo has generated for us

-
At this point, you should be able to run
hugo server -Dto have hugo publish your site for you to view locally onhttp://localhost:1313
Adding the ‘Clean White’ theme
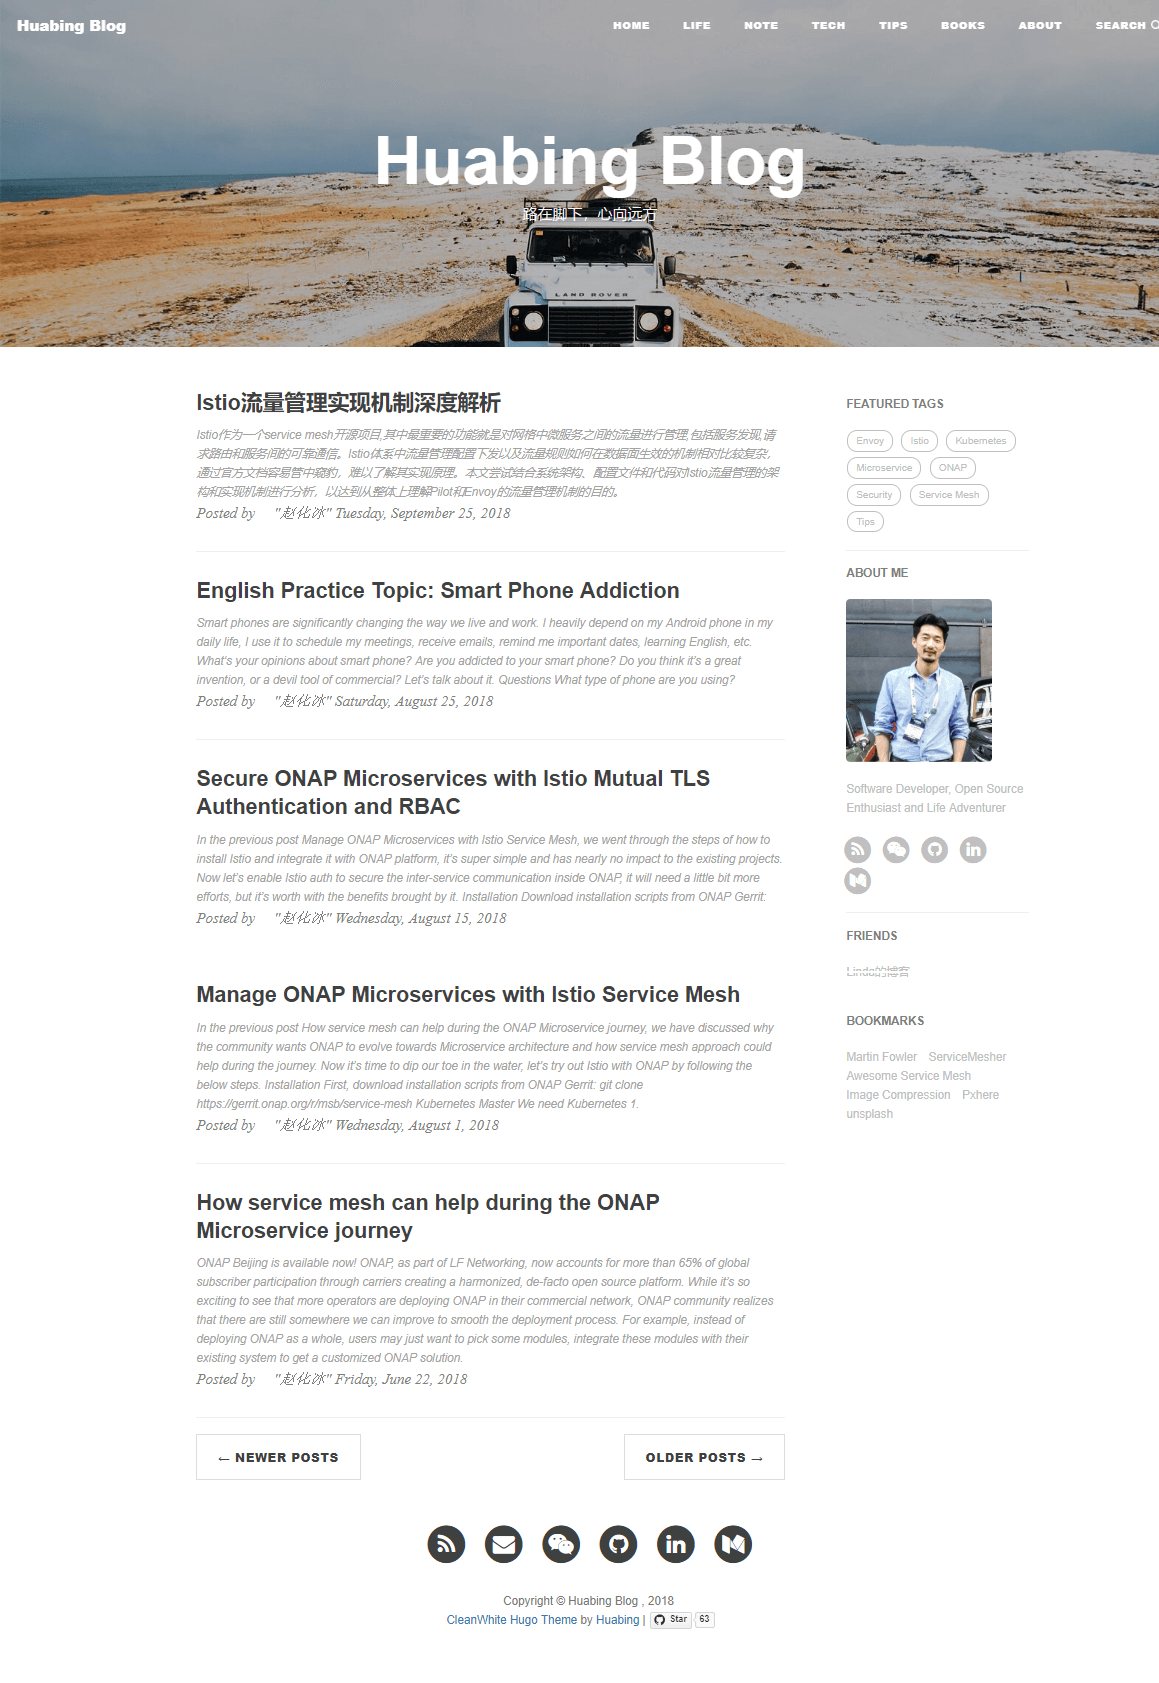
So the site it up and running, and although it’s nice, I wanted to give it a better look. So after browsing through the free themes on https://themes.gohugo.io/tags/blog/, I decided on Clean White, which comes with an examplesite directory that we can copy into our site folder for a much fuller foundation to start our blog with.
There’s a great quickstart guide on the github page for getting it setup.
- In a nutshell, you simply need to clone the theme’s git repo to the
themesfolder of you newly-created hugo site. So in cmd, make sure youcdtoc:\websites\my-site\themesfor example, then run the below command:
git clone https://github.com/zhaohuabing/hugo-theme-cleanwhite.git
-
You’ll then want to copy the contents of
c:\websites\my-site\themes\hugo-theme-cleanwhite\exampleSiteto yourmy-sitedirectory, and replace anything that it prompts you for. -
Once copied,
cdback to yourmy-sitedirectory, and runhugo serve
Your site at http://localhost:1313 should now have a nice new look!
6. Create the AWS CodeBuild Project
Becuase we’ll be synchronising our entire blog code and config to CodeCommit, we need to strip out the important public folder (which hasn’t been created yet, we’ll do that shortly) so only this folder is uploaded to our S3 Bucket which will be serving the site content. To do this, we’ll use CodeBuild to extract the public folder and create an Artifact from it, which will be ingested by CodePipeline and pushed to our Public site-bucket S3 Bucket.
-
In the CodeBuild Console, Select Build > Build projects and Create build project

-
In the Project configuration, give it a suitable name, e.g.
extract-site-content -
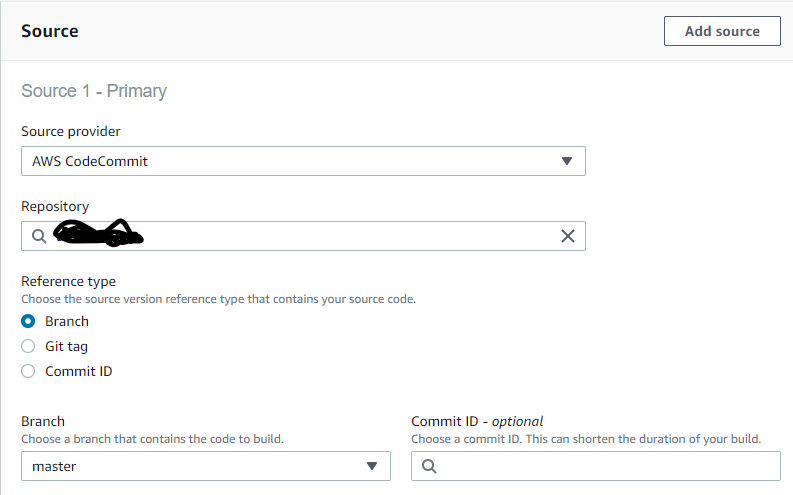
Under Source 1 - Primary, select AWS CodeCommit as the provider, the Repo you created in Step 3 as the Repository, Branch as the reference type, and master as the Branch.
-
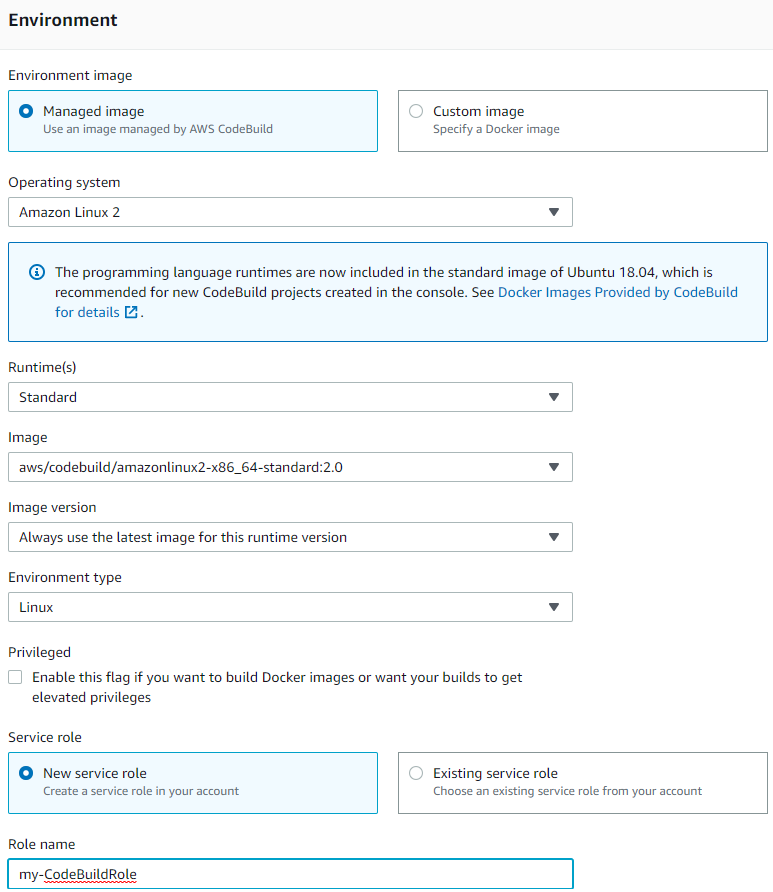
Under Environment, use the config from the below, ensuring you use the latest version of the Standard Amazon Linux 2 runtime, New service role and provide a suitable role name. This will create the IAM Role for us and provide the necessary permissions.
-
Under Buildspec, select Insert build commands, and paste the following code:
version: 0.2

artifacts:
    files:
       - '**/*'
    base-directory: 'public'
This simply instructs CodeBuild to create an artifact using only the contents of the
publicdirectory of our blog folder. -
Leave the rest of the options as default, then hit Create build Project
7. Create the AWS CodePipeline
In this section, we’ll be creating a Pipeline that will run every time the CodeCommit Repo is updated. It will push the contents of the repo to CodeBuild, which will extract the _site folder as above, then push that data into our site_bucket S3 Bucket. It will also push the full Blog folder into our site-config-bucket.
-
Select Piepline > Pipelines and Create new pipeline
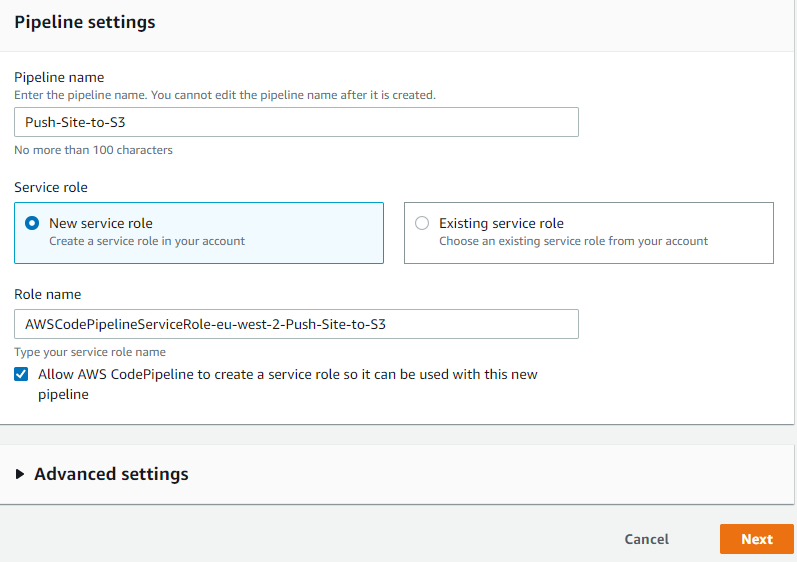
-
Provide a suitable Pipeline name, and create a new service role. You can leave the default name if you wish. Then click Next
-
On the Source screen, select AWS CodeCommit, then select master branch of your Repo. Leave the other options as default and click Next

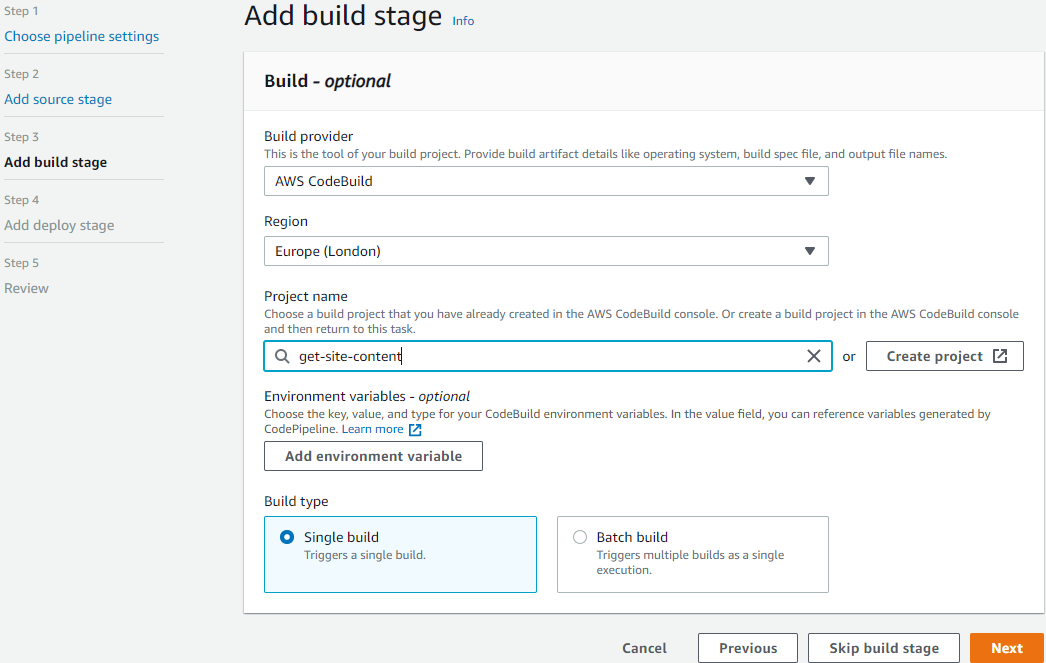
-
On the Build stage, select AWS CodeBuild, then select the Build Project we created in the previous section. Click Next
-
On the Deploy screen, Select Amazon S3 as the deploy provider, and your site_bucket as the Bucket. Make sure you tick Extract file before deploy, otherwise CodePipeline will upload the content as a zip file, which obviously won’t work as we require the contents to be displayed in the root of the bucket in order for them to be served as a static website.

-
Review your settings on the Review screen, then click Create pipeline
If you then select your pipeline, you should be presented with something that looks similar to the below (mine has already been run at this point, hence the green ticks)

7. Uploading your site
At this point, we’ve got our CodeCommit Repo created, we’ve got our CodePipeline created and ready to run, and we have our Buckets created ready to store our data. All that’s left to do is have hugo generate our static site files, then upload our site!
Generate static site
-
In cmd,
cdto your site directory, then simply runhugoThis will generate the all important
publicfolder within your site directory. -
Optional - Make the necessary changes to your site/blog posts within VSCode. I won’t go into too much detail here as it’s very much a personal preference on how you want your site to look and what information you want it to contain. There’s some good details in the Configuration sections of the Clean White github page.
-
Once done, ensure you save and commit all changes locally
Push your site up to CloudCommit
-
Push your changes back up to the origin CodeCommit Repo. If you struggle with any weird messages about it being unable to find the
masterbranch, there’s a good guide here on fixing that (essentially, git changed it’s primary branch naming convention frommaintomasterin mid-2020) -
At this point, you can head to CodePipeline which should now start processing your CodeCommit changes and pushing the data to S3. You can see it in action similar to below:
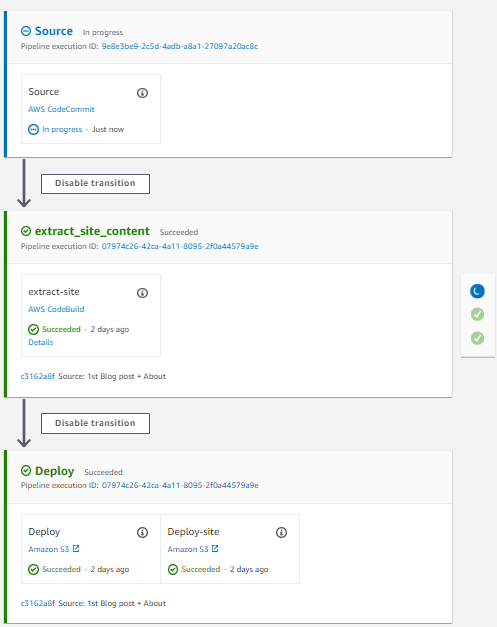
-
Once complete, you should then be able to view your site by using the public S3 URL of your site-bucket Bucket.
comments powered by Disqus